redmine 설치
소스코드 다운로드
소스코드가 위치할 디렉토리로 이동해 소스코드를 다운로드 받습니다.
apache 기본 document root 는 /var/www/html 입니다.
편의상 이 경로에서 작업해도 되지만 redmine이라는 계정을 생성해 진행하도록 하겠습니다.
$ useradd redmine
$ su - redmine
$ wget https://www.redmine.org/releases/redmine-4.0.5.tar.gz
$ tar xvzf redmine-4.0.5.tar.gz
$ mv redmine-4.0.5 redmine
데이터베이스 생성 및 user 생성
MariaDB [(none)]> CREATE DATABASE redmine CHARACTER SET utf8mb4;
Query OK, 1 row affected (0.001 sec)

MariaDB [(none)]> CREATE USER 'redmine'@'localhost' IDENTIFIED BY 'PASSWORD';
Query OK, 0 rows affected (0.001 sec)

MariaDB [(none)]> GRANT ALL PRIVILEGES ON redmine.* TO 'redmine'@'localhost';
Query OK, 0 rows affected (0.001 sec)
데이터베이스 설정파일 수정
redmine 소스코드 압축 해제한 디렉토리 안에 config/database.yml 파일을 수정해준다.
$ cd /home/redmine/redmine/config
$ mv database.yml.example database.yml
$ vi database.yml
production 부분을 위에서 생성한 데이터베이스 정보로 수정해 줍니다.
production:
  adapter: mysql2
  database: redmine
  host: localhost
  username: redmine
  password: "PASSWORD"
  encoding: utf8mb4
redmine 의존성 라이브러리 설치
$ gem install bundler # root 계정으로 실행
$ cd /home/redmine/redmine # redmine 계정으로 실행
$ bundle install --without development test
bundle install 시 발생 가능한 에러 대응
$ bundle install --without development test
... 중략 ...

We trust you have received the usual lecture from the local System
Administrator. It usually boils down to these three things:

    #1) Respect the privacy of others.
    #2) Think before you type.
    #3) With great power comes great responsibility.


Your user account isn't allowed to install to the system RubyGems.
  You can cancel this installation and run:

      bundle install --path vendor/bundle

  to install the gems into ./vendor/bundle/, or you can enter your password
  and install the bundled gems to RubyGems using sudo.

  Password:
위 내용과 같이 패스워드를 물어보면 다음명령어로 설치해줍니다.
$ bundle install --without development test --path vendor/bundle
mysql2 관련 에러가 발생한다면 MariaDB-shared, MariaDB-devel 패키지를 설치해줍니다.
An error occurred while installing mysql2 (0.5.2), and Bundler cannot continue.
 Make sure that gem install mysql2 -v '0.5.2' --source 'https://rubygems.org/' succeeds before bundling.
$ yum install MariaDB-shared MariaDB-devel
아래와 같이 rmagick 에러 발생시 ImageMagick ImageMagick-devel 패키지를 설치 해줍니다.
An error occurred while installing rmagick (2.16.0), and Bundler cannot continue. Make sure that gem install rmagick -v '2.16.0' --source 'https://rubygems.org/' succeeds before bundling.
$ yum install ImageMagick ImageMagick-devel
Session Store secret 생성
$ bundle exec rake generate_secret_token
데이터베이스 스키마 생성
앞서 생성한 데이터베이스에 기본 구조를 만듭니다.
$ RAILS_ENV=production bundle exec rake db:migrate
데이터베이스 기본 데이터셋 입력
기본 설정 데이터를 데이터베이스에 입력합니다.
$ RAILS_ENV=production bundle exec rake redmine:load_default_data

Select language: ar, az, bg, bs, ca, cs, da, de, el, en, en-GB, es, es-PA, et, eu, fa, fi, fr, gl, he, hr, hu, id, it, ja, ko, lt, lv, mk, mn, nl, no, pl, pt, pt-BR, ro, ru, sk, sl, sq, sr, sr-YU, sv, th, tr, uk, vi, zh, zh-TW [en]  ko
====================================
Default configuration data loaded.
실행 후 사용할 언어를 물어보면 ko 입력 합니다.
파일시스템 퍼미션 조정
$ pwd
/home/redmine/redmine
$ mkdir -p tmp tmp/pdf public/plugin_assets
$ chown -R redmine:redmine files log tmp public/plugin_assets
$ chmod -R 755 files log tmp public/plugin_assets
테스트
WEBrick 웹서버를 구동해 redmine 이 잘 동작하는지 확인해 봅니다.
$ bundle exec rails server webrick -e production
=> Booting WEBrick
=> Rails 5.2.3 application starting in production on http://0.0.0.0:3000
=> Run `rails server -h` for more startup options
[2019-10-24 17:44:43] INFO  WEBrick 1.4.2
[2019-10-24 17:44:43] INFO  ruby 2.6.3 (2019-04-16) [x86_64-linux]
[2019-10-24 17:44:43] INFO  WEBrick::HTTPServer#start: pid=25912 port=3000
브라우져에서 http://아이피주소:3000 주소로 접속하면 다음과 같은 화면을 볼 수 있습니다.
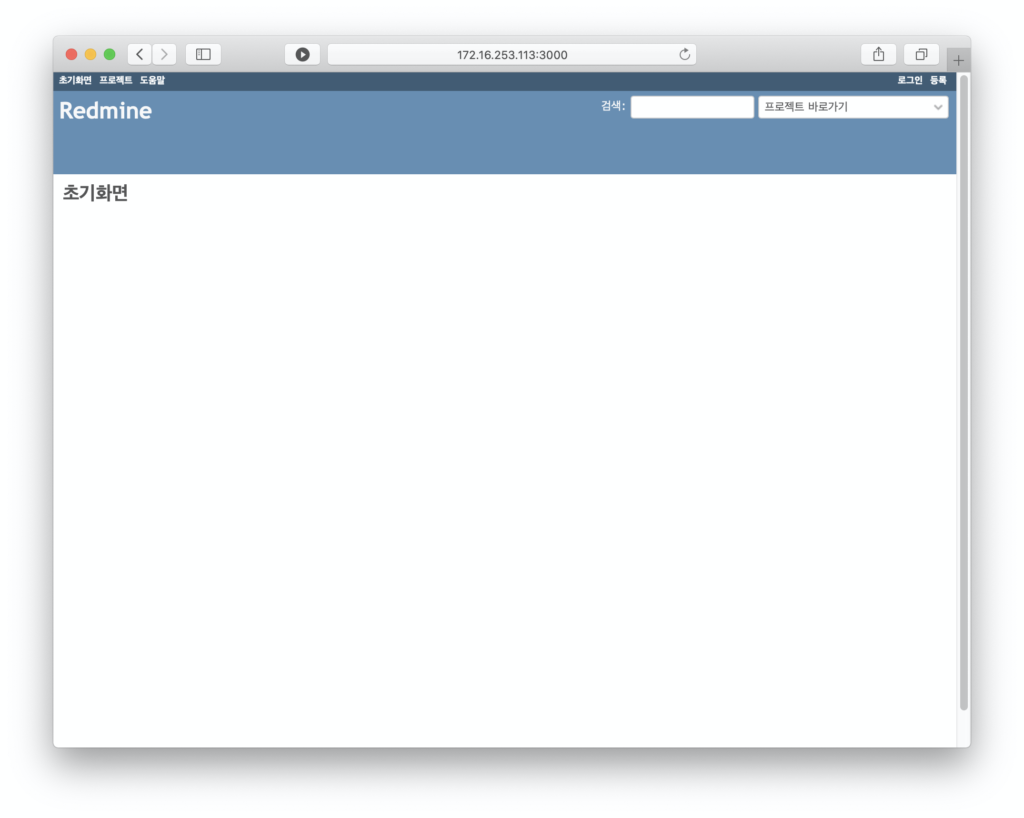
기본 로그인 ID/Password는 admin / admin 입니다.
다음 글에서 apache 와 연동 부분을 다루어 보겠습니다…..