apache 연동
직전 포스팅에서 webrick 웹서버를 통하여 redmine이 잘 동작하는지 테스트를 해 보았습니다.
물론 테스트 시 에는 전혀 문제가 없지만 아무래도 개발용 웹 서버다 보니 실 서비스에 적용하기에는 무리가 있습니다.
그런 이유로 실서비스에 적용하기 위해 보통 apache, nginx와 같은 웹서버와 연동을 하여 사용하는 방법이 일반적 입니다.
본 포스팅 에서는 apache 와 연동하는 방법을 알아보도록 하겠습니다.
redmine을 apache 와 연동 하기 위해서는 passenger 라는 apache 모듈을 사용해야 합니다.
apache + passenger 에 대한 자세한 내용은 아래 링크를 참고하시길 바랍니다.

passenger를 설치하기 위해 아래 명령을 실행합니다.(root 권한으로 실행)
gem을 이용하여 passenger 설치
$ gem install passenger
Fetching passenger-6.0.4.gem
Building native extensions. This could take a while...
Successfully installed passenger-6.0.4
Parsing documentation for passenger-6.0.4
Installing ri documentation for passenger-6.0.4
Done installing documentation for passenger after 96 seconds
1 gem installed
apache passenger 모듈 설치
$ passenger-install-apache2-module
Welcome to the Phusion Passenger Apache 2 module installer, v6.0.4.

This installer will guide you through the entire installation process. It
shouldn't take more than 3 minutes in total.

Here's what you can expect from the installation process:

 1. The Apache 2 module will be installed for you.
 2. You'll learn how to configure Apache.
 3. You'll learn how to deploy a Ruby on Rails application.

Don't worry if anything goes wrong. This installer will advise you on how to
solve any problems.

Press Enter to continue, or Ctrl-C to abort.


--------------------------------------------

Which languages are you interested in?

Use <space> to select.
If the menu doesn't display correctly, press '!'

 ‣ ⬢  Ruby
   ⬡  Python
   ⬡  Node.js
   ⬡  Meteor

--------------------------------------------

Checking for required software...

 * Checking for C compiler...
      Found: yes
      Location: /usr/bin/cc
 * Checking for C++ compiler...
      Found: yes
      Location: /usr/bin/c++
 * Checking for Curl development headers with SSL support...
      Found: yes
      curl-config location: /usr/bin/curl-config
      Header location: /usr/include/curl/curl.h
      Version: libcurl 7.29.0
      Usable: yes
      Supports SSL: yes
 * Checking for Zlib development headers...
      Found: yes
      Location: /usr/include/zlib.h
 * Checking for Apache 2...
      Found: yes
      Location of httpd: /usr/sbin/httpd
      Apache version: 2.4.6
 * Checking for Rake (associated with /usr/local/rvm/gems/ruby-2.6.3/wrappers/ruby)...
      Found: yes
      Location: /usr/local/rvm/gems/ruby-2.6.3/wrappers/rake
 * Checking for OpenSSL support for Ruby...
      Found: yes
 * Checking for RubyGems...
      Found: yes
 * Checking for Ruby development headers...
      Found: yes
      Location: /usr/local/rvm/rubies/ruby-2.6.3/include/ruby-2.6.0/ruby.h
 * Checking for rack...
      Found: yes
 * Checking for OpenSSL development headers...
      Found: yes
      Location: /usr/include/openssl/ssl.h
 * Checking for Apache 2 development headers...
      Found: yes
      Location of apxs2: /usr/bin/apxs
 * Checking for Apache Portable Runtime (APR) development headers...
      Found: yes
      Location: /usr/bin/apr-1-config
      Version: 1.4.8
 * Checking for Apache Portable Runtime Utility (APU) development headers...
      Found: yes
      Location: /usr/bin/apu-1-config
      Version: 1.5.2

--------------------------------------------

Checking whether there are multiple Apache installations...
Only a single installation detected. This is good.
....... 중략 ......

Almost there!

Please edit your Apache configuration file, and add these lines:

   LoadModule passenger_module /usr/local/rvm/gems/ruby-2.6.3/gems/passenger-6.0.4/buildout/apache2/mod_passenger.so
   <IfModule mod_passenger.c>
     PassengerRoot /usr/local/rvm/gems/ruby-2.6.3/gems/passenger-6.0.4
     PassengerDefaultRuby /usr/local/rvm/gems/ruby-2.6.3/wrappers/ruby
   </IfModule>

After you restart Apache, you are ready to deploy any number of web
applications on Apache, with a minimum amount of configuration!

Press ENTER when you are done editing.
위와 같이 설치가 성공하고 나면 apache 설정 파일에 추가해야 할 설정이 안내되고 이 부분을 설정파일에 추가합니다.
LoadModule passenger_module /usr/local/rvm/gems/ruby-2.6.3/gems/passenger-6.0.4/buildout/apache2/mod_passenger.so
<IfModule mod_passenger.c>
  PassengerRoot /usr/local/rvm/gems/ruby-2.6.3/gems/passenger-6.0.4
  PassengerDefaultRuby /usr/local/rvm/gems/ruby-2.6.3/wrappers/ruby
</IfModule>
위 내용을 /etc/httpd/conf.d/passenger.conf 파일을 만들어 추가해 줍니다.
위 과정에서 에러가 발생한다면 보통 필요한 소프트웨어들이 설치가 덜 된경우가 많습니다. 친절하게도 설치 초반에 필요한 소프트웨어들을 체크해주고 어떤 소프트웨어가 누락되었는지 확인이 가능합니다. 기본적으로 아래 소프트웨어들은 설치를 해 주고 실행합니다.
gcc, gcc-c++, libcurl-devel, httpd-develapache 가상호스트 생성
/etc/httpd/conf.d/redmine.conf 파일을 만들고 아래 내용을 추가해 줍니다.
<VirtualHost *:80>
    ServerName redmine.domain.com
    DocumentRoot /home/redmine/redmine/public
    <Directory "/home/redmine/*/public">
        Order allow,deny
        Allow from all
        Require all granted
    </Directory>
    ErrorLog "logs/redmine.domain.com-error_log"
    CustomLog "logs/redmine.domain.com-access_log" combined
</VirtualHost>
DocumentRoot가 설치 디랙토리인 /home/redmine/redmine 이 아니라 /home/redmine/redmine/public 이란 점에 주의 합니다.
apache 재시작
$ systemctl restart httpd
테스트
브라우저를 열고 http://redmine.domain.com 으로 접속해 봅니다.
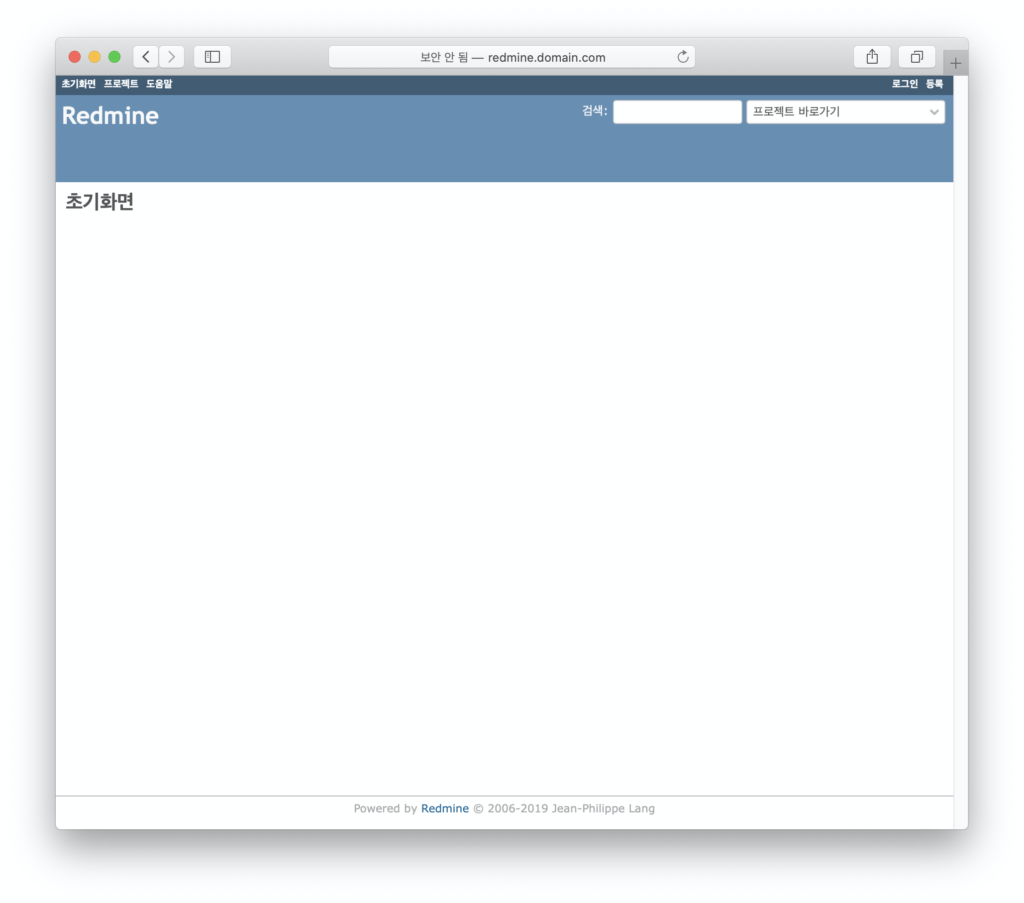
이상 프로젝트 관리툴인 redmine 설치에 대해 알아 보았습니다.